
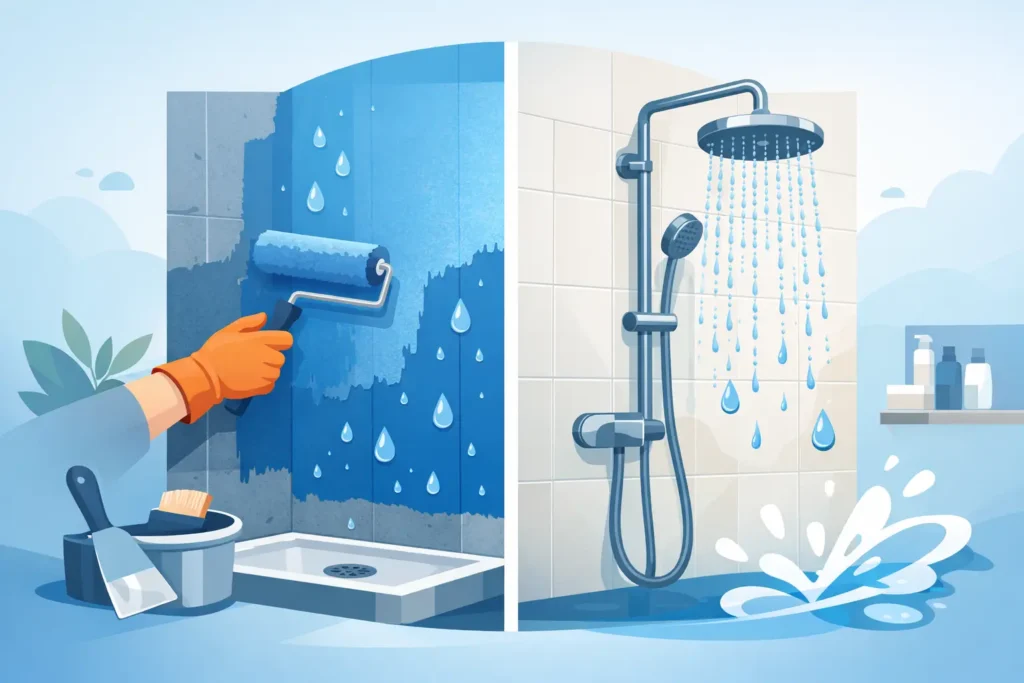
A shower wall can look flawless on installation day and still fail quietly behind the finish. Water does not need a visible crack or a dramatic leak to cause trouble. It can work through unsealed corners, fastener holes, pipe openings, and poorly joined panels, eventually damaging framing, insulation, and adjacent rooms. Knowing how to waterproof shower walls means treating the shower as a complete water-management system, not simply adding a water-resistant wall finish.
For a high-end bathroom renovation, the goal is simple: create a continuous waterproof barrier behind or beneath the visible surface, then finish it with a material that is equally practical, hygienic, and visually refined.
Start With the Right Shower Wall Substrate
Waterproofing is only as reliable as the surface beneath it. Standard drywall, untreated wood, particleboard, and damaged plaster are not suitable base materials inside a shower enclosure. Even moisture-resistant drywall should not be assumed waterproof. It may resist humidity better than standard board, but it is not designed to stop ongoing direct water exposure on its own.
For most shower renovations, cement board, fiber-cement board, foam-backed shower panels, or an approved waterproof backer board provide the strongest starting point. These materials are stable, durable, and less likely to deteriorate if exposed to moisture during installation or over the life of the shower.
The wall must be flat, firmly secured, and free from movement. A beautiful surface finish cannot compensate for loose boards, uneven studs, or a wall that flexes when pressed. Before moving forward, check that the shower walls meet manufacturer requirements for spacing, fasteners, and joint treatment. This stage is not where shortcuts pay off.
Choose a Waterproofing System, Not Just a Product
There are two established ways to waterproof shower walls: sheet membranes and liquid-applied membranes. Both can deliver excellent results when installed correctly. The best choice depends on the wall system, surface finish, shower design, and installer experience.
Sheet membranes
Sheet membranes are flexible, waterproof sheets bonded to the wall using a compatible adhesive or thinset mortar. They provide a consistent thickness and can be particularly effective in showers with straight walls, niches, benches, and detailed transitions. Seams are overlapped or sealed using approved banding, creating a continuous barrier across the entire wet area.
Their main advantage is predictability. Because the membrane arrives at a fixed thickness, there is less risk of applying too little material. The trade-off is that every overlap, corner, and penetration must be carefully sealed. Poor adhesion or rushed seam work can create a path for water.
Liquid-applied membranes
Liquid waterproofing membranes are rolled, brushed, or sprayed onto the prepared wall. Once cured, they form a flexible, seamless coating beneath the finish. This approach is useful around complex shapes, curved features, niches, and awkward plumbing details where sheet material can be more difficult to fit.
The critical detail is thickness. One thin coat is rarely enough. Most systems require multiple coats, often with reinforcing fabric at corners and changes of plane. Follow the stated coverage rate and curing times precisely. If the membrane is too thin, pinholes and weak spots may remain even when the wall appears fully coated.
Do not combine products from different systems unless their manufacturers specifically approve it. A waterproofing installation is only as dependable as the compatibility between the substrate, membrane, sealant, drain components, and finish materials.
How to Waterproof Shower Walls Step by Step
The process should be methodical. Rushing to the decorative finish before the waterproof layer has cured is one of the most expensive mistakes in bathroom remodeling.
1. Prepare and repair the walls
Remove all old loose material, failed caulk, damaged backer board, and debris. Repair framing if there is evidence of rot, mold, or movement. Install the approved shower backer board according to its specifications, keeping boards aligned and securely fastened.
Avoid placing standard drywall screws or unapproved fasteners where they may corrode. Use the correct corrosion-resistant fasteners and ensure recessed screw heads are treated as part of the waterproofing process.
2. Seal joints, corners, and fastener locations
Wall joints and inside corners are movement zones. They need special attention before the main waterproof layer goes on. Depending on the system, this may involve waterproof tape, preformed corners, reinforcing fabric, or sealing bands embedded into the membrane.
Also seal every screw head, plumbing penetration, shower valve opening, and pipe outlet. These small interruptions in the wall are among the most common sources of hidden moisture damage. Use the manufacturer-approved seals or gaskets around pipes and valves rather than relying on surface caulk alone.
3. Waterproof niches, benches, and transitions
A recessed niche is useful for shampoo bottles, but it is also a box built into one of the wettest areas of the shower. It must be fully waterproofed on its back, sides, base, corners, and front edge. The niche shelf should slope slightly toward the shower so water does not sit against the wall.
Benches, half walls, curbs, and the transition between the shower wall and shower pan require the same care. Waterproofing must overlap and connect so water is directed back into the shower pan, never behind it. A disconnected wall membrane and pan liner can undermine an otherwise excellent installation.
4. Apply the field membrane completely
Once detailed areas are sealed, apply the main waterproofing material across the full shower wall area. Extend it high enough to protect every area exposed to spray and humidity. In a fully enclosed or steam-prone shower, it is often wise to waterproof to the ceiling, subject to the chosen system’s requirements.
With liquid membranes, apply each coat evenly and allow full drying time between coats. Changes in color can help show when a coating has cured, but do not treat appearance as the only guide. With sheet membranes, press material firmly into place, remove air pockets, and ensure every overlap meets the required width.
5. Test before installing the finish
A shower pan is commonly flood-tested before tile or surface finishing begins. While wall testing may vary by local code and system design, a professional inspection of seams, corners, penetrations, and the wall-to-pan connection is essential before covering the waterproofing.
This is the moment to correct a weak detail. Once tile, panels, or a decorative coating is installed, repairs become more disruptive and more costly.
Finish the Shower With a Surface Built for Daily Use
Waterproofing protects the structure, but the visible finish still matters. Grout-heavy tile installations can be beautiful, although grout lines require regular cleaning and periodic maintenance. Natural stone can deliver a luxurious appearance but may need sealing and more careful product selection to prevent staining or etching.
For homeowners and commercial property decision-makers seeking a more continuous look, modern seamless surface systems offer a compelling alternative. A professionally applied spray granite finish can create a refined stone-inspired appearance with fewer joints, a durable protective surface, and a broad choice of colors and textures. When paired with a correctly installed waterproofing system, it supports the kind of low-maintenance, high-impact bathroom transformation many renovations demand.
Spray Granite Specialists approaches wet-room and shower-wall projects with the understanding that appearance and performance are inseparable. The final surface should feel premium, but it also needs to stand up to daily water exposure, cleaning routines, and the realities of a busy home or commercial setting.
Common Waterproofing Mistakes to Avoid
The most damaging mistakes are often the least visible. Applying tile directly to an unprotected backer board, treating grout as waterproof, skipping waterproofing behind a niche, or using caulk to solve a failed membrane detail can all lead to moisture intrusion.
Another common issue is mixing unrelated products. A sealant may look similar to the specified one, but compatibility affects adhesion, flexibility, and long-term reliability. Using a complete approved system gives the installer clear instructions for every connection, from wall board to drain transition.
Finally, do not confuse water-resistant with waterproof. Cement board can tolerate moisture, but water can still pass through it. Tile and grout can shed water, but they are not a standalone waterproof barrier. The membrane is the layer that protects the building itself.
When Professional Installation Is the Better Investment
A straightforward shower wall can be within reach for an experienced DIY renovator who follows one tested system from start to finish. But custom niches, steam showers, aging homes, curved walls, large-format surfaces, and wet rooms all increase the consequences of a small installation error.
Professional installation brings more than a polished finish. It provides proper substrate assessment, system compatibility, accurate membrane application, careful treatment of details, and a clear standard of workmanship. That confidence is especially valuable when the renovation is intended to raise property value or create a luxury bathroom that will perform for years.
The best shower walls are never defined only by what you can see. Build the waterproof layer with the same care you give the final finish, and every shower afterward becomes proof that the renovation was done right.